Tutorial
How to paint precisely
By James Lewis
Precision painting isn’t about having a perfectly steady hand. It’s a combination of the right tools, techniques, and practises.
I’ve gone from shaky hands to silky smooth brush strokes, and you can too. Trust me, it may seem impossible right now but I’ll answer all your questions below and you’ll be painting precisely in no time.
How do i get started?
Painting Precisely starts long before you put brush to canvas. A tidy workspace will set you up for success, making painting easier and more fun. Here are a few things to get right before you start painting:
Organise your space
Keep your art supplies within easy reach. I have a small trolly next to my easel which keeps everything neatly arranged. A tidy workspace will help you focus on painting.
Try to relax
I get it, learning a new technique can be stressful. I’ve found it helpful to take a few slow breaths before I begin painting. It helps me to relax and get into the flow state.
Paint upright
Working on an easel improves your brush control, posture, and freedom of movement. Invest in a tabletop or free-standing easel and you’ve got the perfect set up ready to paint.
What Art Supplies Are Best For Precise Painting?
Whilst it’s true that you can create a masterpiece with any art supplies, the right tools can save you a lot of time, effort, and frustration. To paint precisely, focus on these three essentials:
Brushes
The softer the bristles the better, and they don’t get softer than Kolinsky sable. These brushes are a favourite among professional artists worldwide, prized for their excellent paint-holding capacity and smooth brush strokes.
I designed the Kolinsky sable Precise Brushes to deliver perfect control and flow, so naturally they’re my favourite. Many artists have told me they’re their favourites too.
If you’re just practicing, synthetic rigger brushes work, but you will likely struggle to pull long consistent brush strokes.
Paint
Consistency is everything. Too thick, and your strokes drag, too thin and you’ll have to paint endless layers to achieve a smooth finish.
I used to mix fluid acrylic paint with a few mediums to get the consistency just right. It worked, but it was always messy, time consuming and expensive. That’s why I worked with a world class team to develop Precise Fluid Acrylics formulated with the perfect consistency straight out of the pouch.
Surface
Rough, absorbent surfaces make clean lines almost impossible. Instead, prep your surface by sanding it and applying a layer of gesso. Once dry, you can repeat the process until the surface is nice and smooth.
If that sounds like too much hassle, invest in fine-grain professional canvases, they’re ready to go with no prep work needed.
How do I stop my hands shaking?
The number one comment I get on my painting videos is “my shaky hands could never”. My response? Yes they can, and if you follow the instructions below, they will. Here are two ways to stabilise your hand:

Hand over fist
Simply rest your painting hand on your non-dominant fist for support. This relieves tension in your shoulders and lets you paint long sweeping brush strokes with your whole arm instead of just your wrist.

Mahl stick
Painters have used this tool for centuries. Rest the stick against your canvas, and your hand can glide steadily across it. This gives your painting hand even more freedom to pull long smooth brush strokes.
Both techniques will help build up your confidence and muscle memory and will make it easier to deal with those shaky hands. For the remainder of the tutorial we will focus on the Hand over fist technique.
How Do I Pull Smooth Brush strokes?
So you’ve got your art supplies ready and your space is tidy, looks like you’re ready to start painting. But how? I’ll break the process down into as much detail as possible to help you along the way:

Loading the brush
To get an even brush stroke you need to make sure the paint is evenly distributed in the bristles. Dip your brush about halfway into the paint. Work it back and forth on your palette so the bristles are evenly coated, forming a chisel-like shape.
Check if the paint is the right consistency. Too thick? add a small droplet of water to the paint. Too thin? Let the paint dry a little on the pallet. Re-load your brush every few strokes for consistency.

Pulling brush strokes
Using a large brush (Precise size 6 would be perfect) we’re going to start with a downwards brush stroke. Hold your brush hand-over-fist with the brush at a 90° angle from the canvas.
Next, press the corner of the bristles onto the corner of the shape and slowly apply pressure until around half the length of the bristles are touching the canvas. Holding both hands as still as possible, pull down with your arms.
As you reach the end of the brush stroke, slowly roll the brush with your fingers in the direction of the corner to angle the brush, release pressure and lift the brush off the canvas in the opposite direction to the brush stroke.

How should I practise?
You pulled your first brush stroke and it wasn’t as precise as you hoped. You should probably just give up right? Nope. This is just the beginning! Now it’s time to practise some basic brush strokes and master precise painting:
Straight brush strokes
Practise the first brush stroke until you can consistently pull a fairly straight line. Move down in brush sizes until you’re painting the same line with the thinnest liner brush.
The technique is the same with the smaller brushes, but they can be more difficult to master as they don’t benefit as much from the stabilising effect of the kolinsky sable bristles.
Once you’re feeling confident with this brush stroke, try practising a horizontal brush stroke using the same technique.

Round brush strokes
Begin in the same position as if you were painting a horizontal brush stroke. With your wrist, pull the brush stroke and twist the brush in your fingers at the same time to keep the face of the brush facing in the direction of the brush stroke. This will give you a smooth brush stroke with a uniform thickness. Paint one half of the circle counterclockwise, and the other half clockwise so you feel comfortable moving the brush in both directions.
Painting Practise
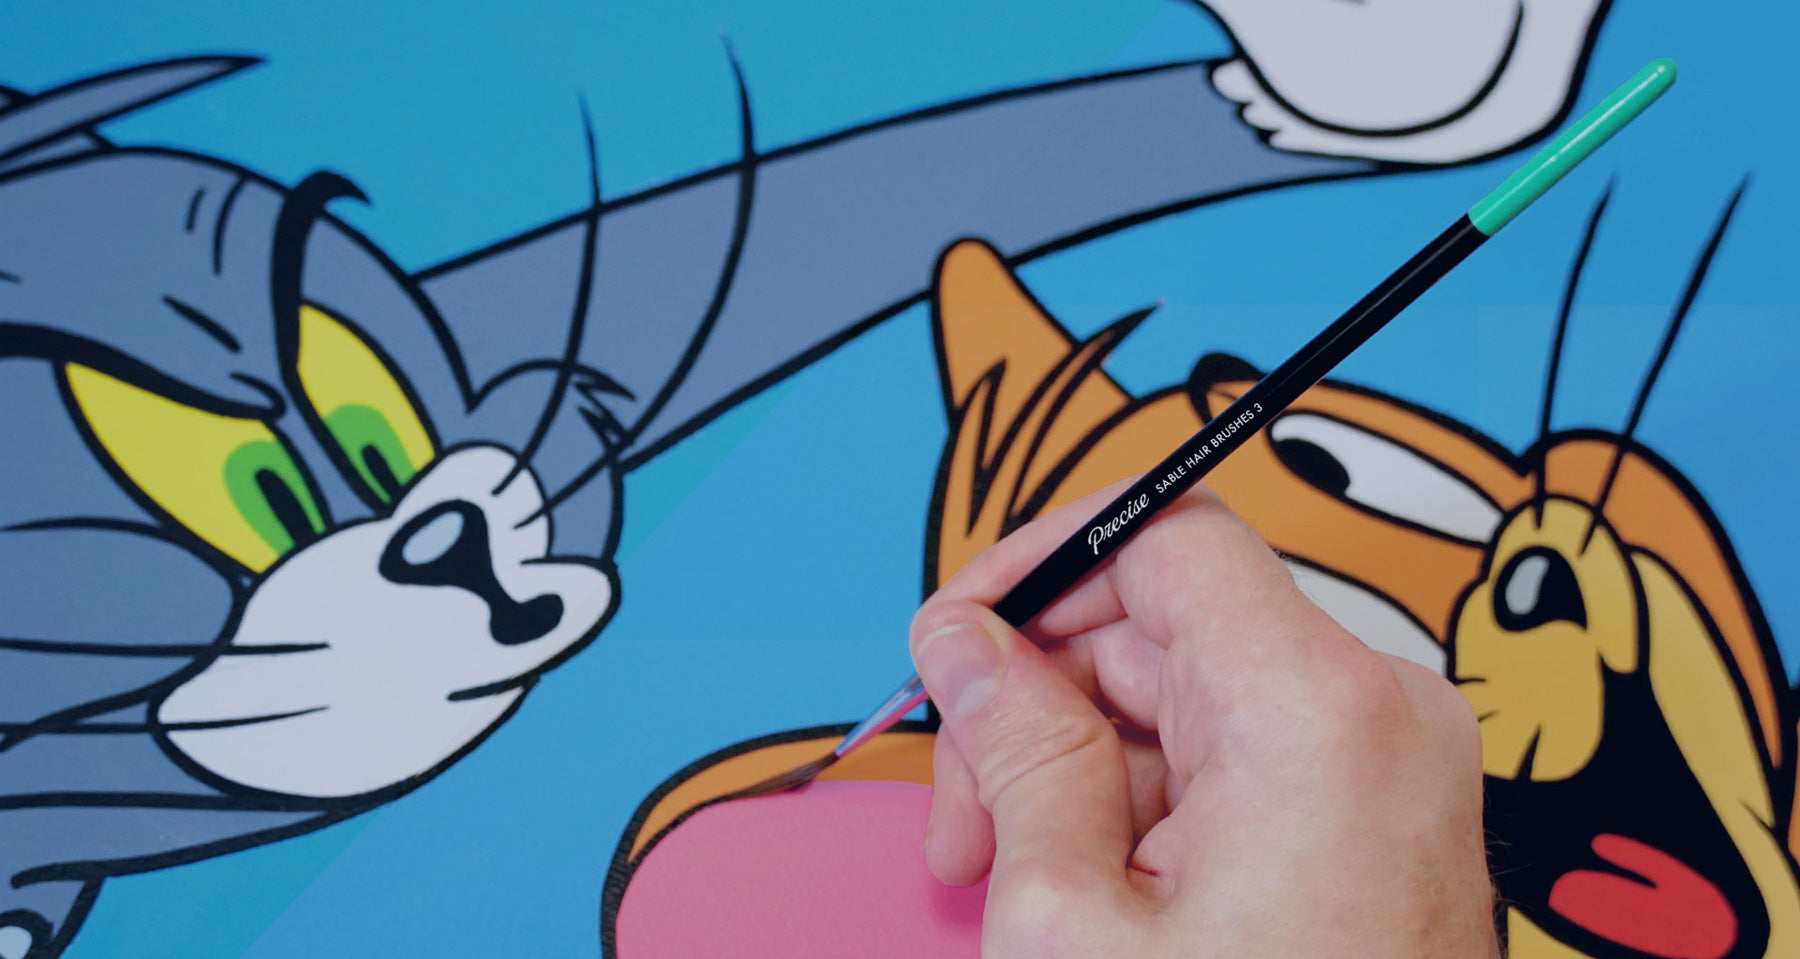
Now you’ve got the basic brush strokes down, it’s time to put those new skills to use. When I was first learning this technique I practised painting cartoons. The unique shapes of each character were challenging at first, but over time I got the hang of it.
Now it's your turn to choose something to paint. It could be a cartoon, a portrait of your pet, or even a cyberpunk city skyline. The possibilities are endless!
Whether you start with the tools you have or invest in our professional art supplies, the most important thing is to keep practicing. Every brush stroke brings you closer to mastery.
My goal with Precise has always been to help artists paint precisely so I hope this tutorial helps you. Now take a deep breath, load your brush, and start painting!


